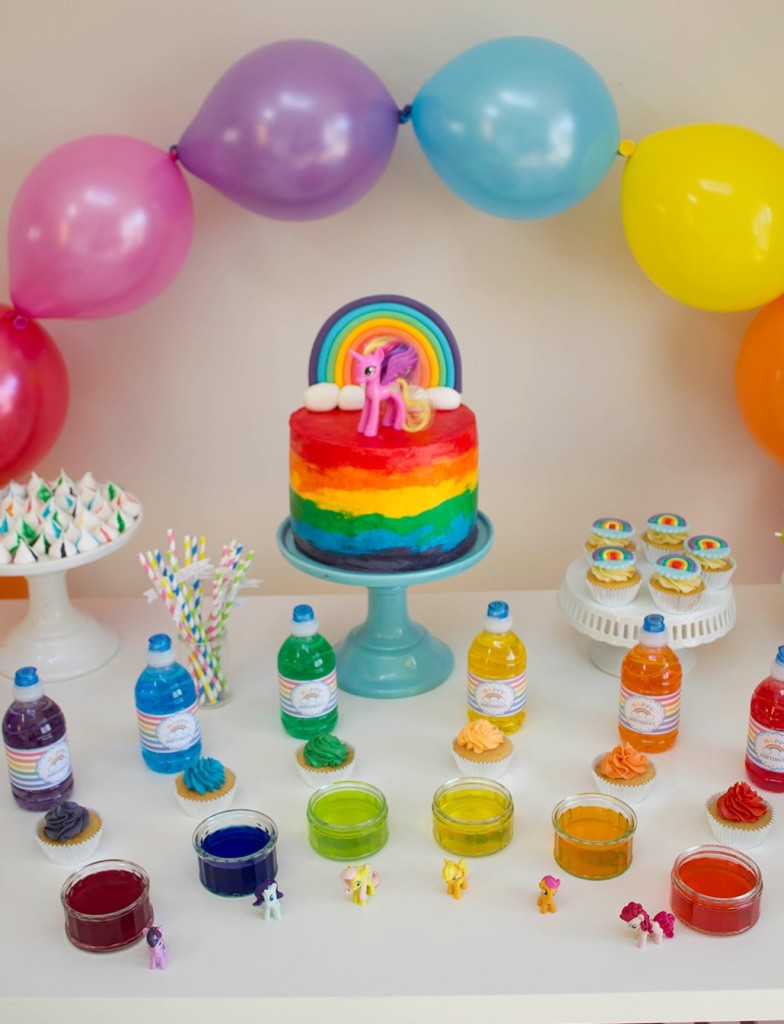
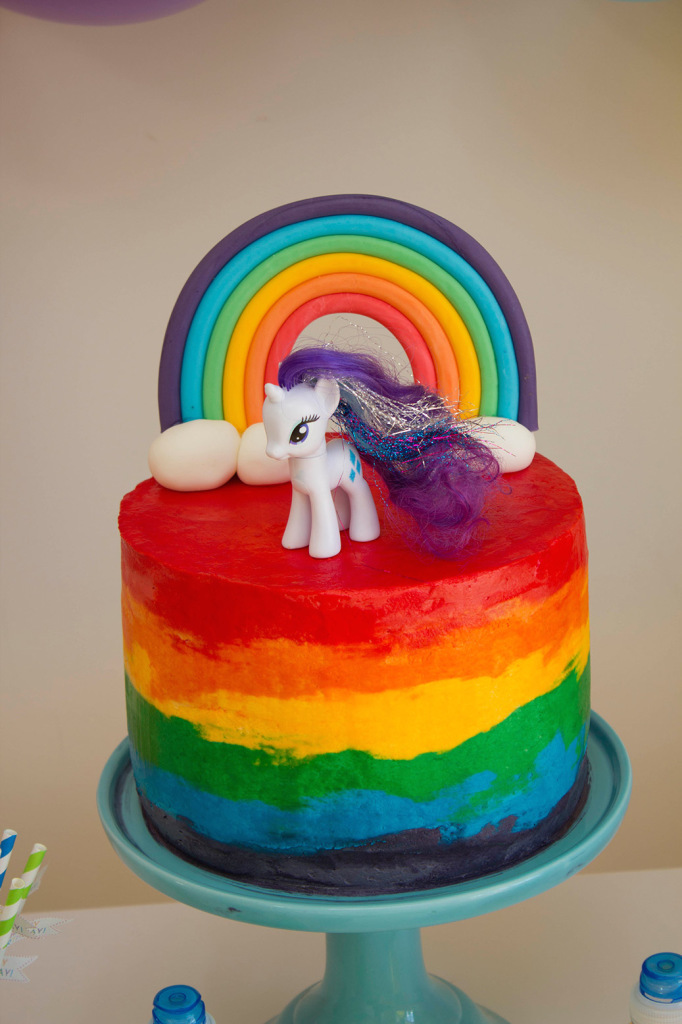
If you have read the post about my daughter’s birthday party you must have noticed the big super colourful rainbow cake I made for the occasion.
I had few people asking me how I made that so here it’s a quick visual tutorial plus few tips and tricks I’d like to share with you that helped me during the making.
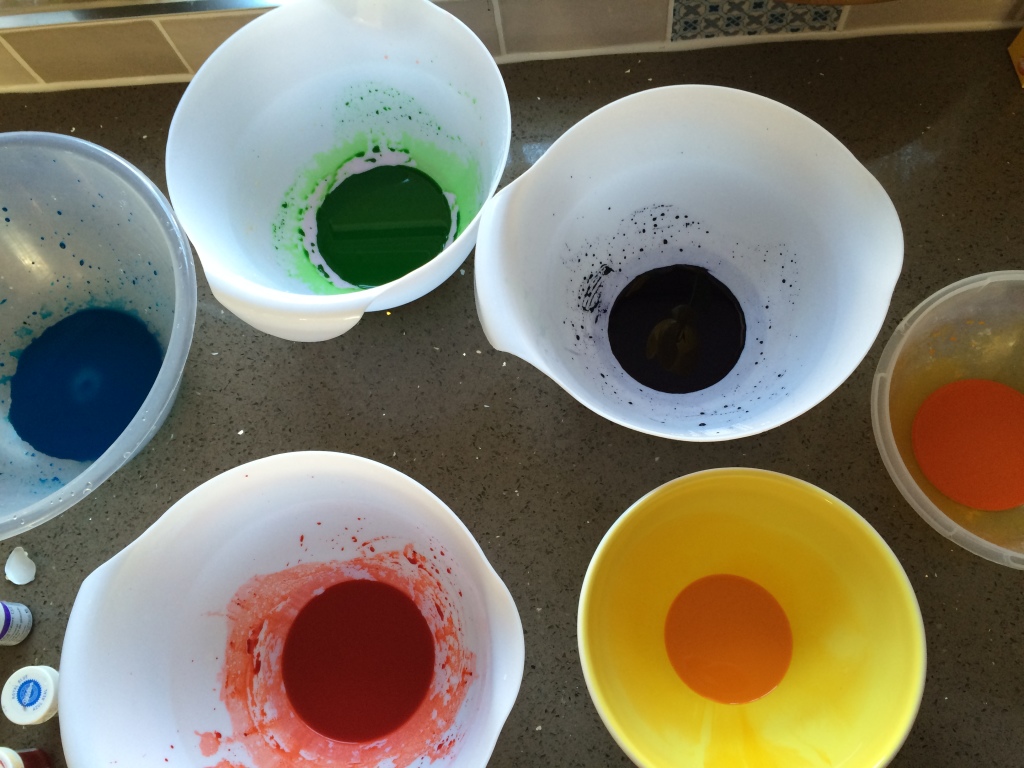
First of all this cake is pretty easy to make BUT it takes quite a while. You need to have many bowls if you want to recreate all the rainbow colours.
TIP – I suggest you to pay a visit to the poundshop and buy their ones which are pretty, cheap and they do the job. Once you are there buy a couple (or more) of spatulas as these are essential to create this cake.
To find the perfect recipe I watched many tutorials and read many recipes and the best one, the one that worked for me, it’s a Youtube video by Jemma from Jemma Cupcakes. I strongly suggest you to watch it as it’s pretty detailed and it worked perfectly for me. The only thing that I did different is convering my cake with coloured Swiss meringue buttercream and not with white vanilla buttercream and for the batter I used Stork instead of butter (I think this is just out of laziness as I always forget to take the butter out of the fridge and when I do remember, I don’t have the patience to wait for it to come to room temperature :))
As Jemma suggests, you would need to colour the milk first and that’s when the bowls come handy 🙂
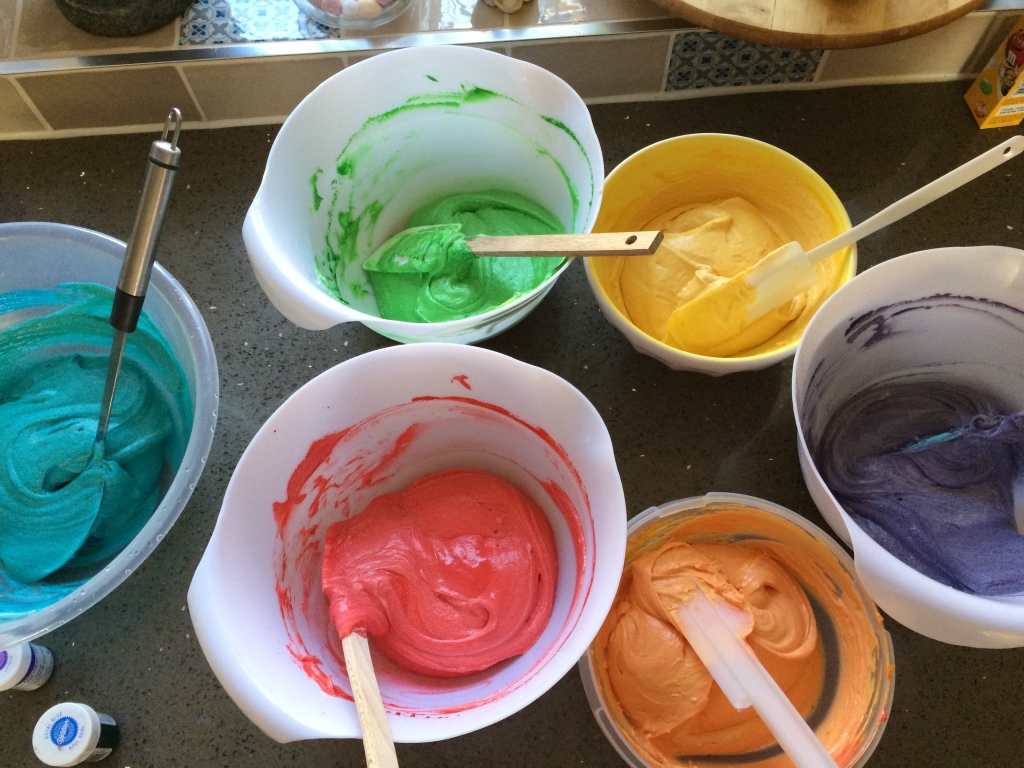
Once the milk is coloured you can start preparing your batter. You would need 9 fresh eggs for this recipe. Being a Happy Egg Taste Maker I obviously used free range Happy Eggs.
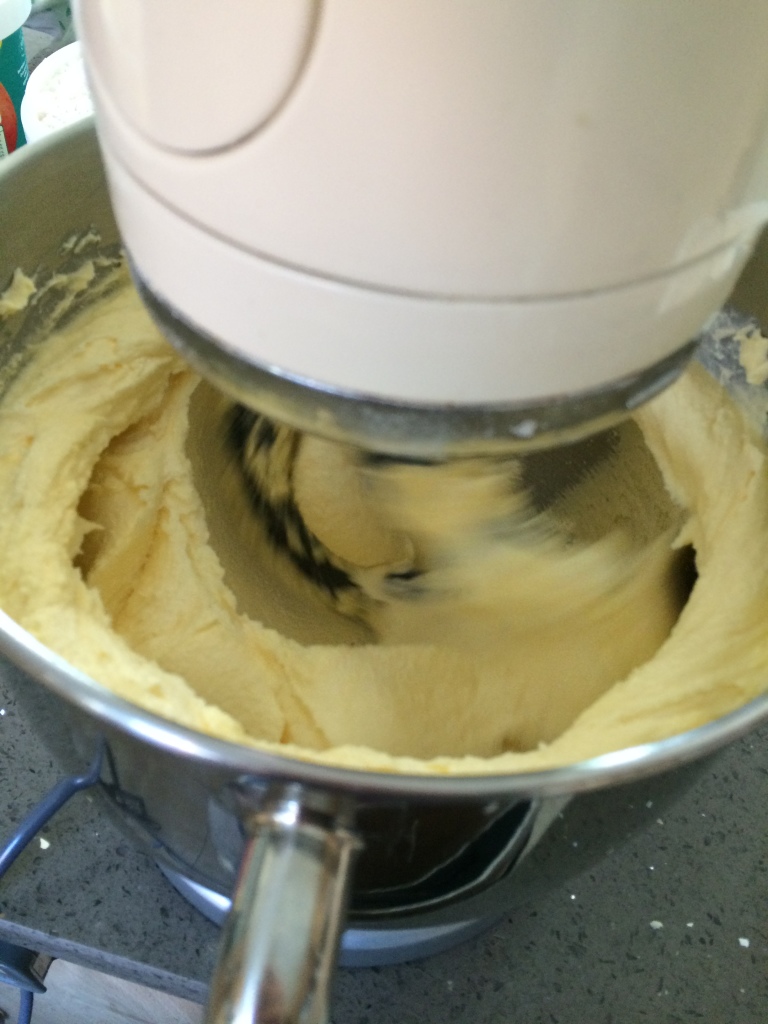
You first need to mix up the margarine with sugar, then add the eggs (one at the time), the vanilla essence and the flour.
Then you need to weight the whole batter to make sure that you equally divide it between all colours and that’s crucial if you want to create same height cake layers. Trust me in this, it’s worth it as when you cut through the cake, it looks much neater and pretty!
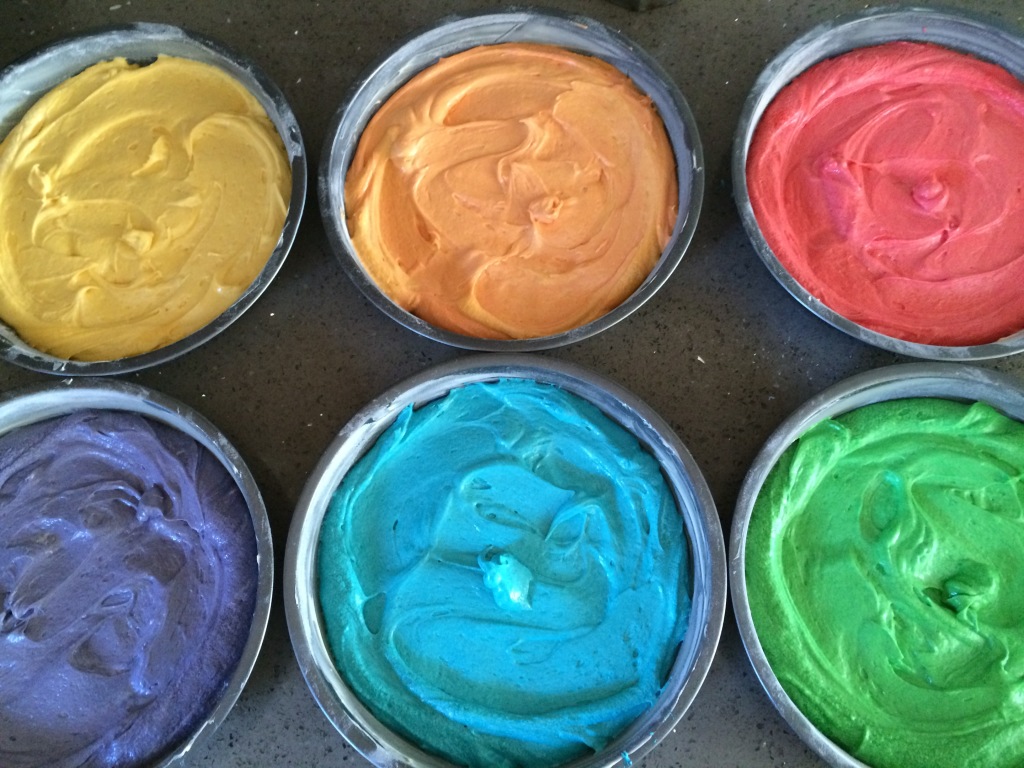
Once all batter is ready you can butter and flour 6 different baking tins (again you can get these from the pound shop, they work fine) and fill them with your wonderful coloured batter. Honestly it already looked so pretty!
While the cakes were baking (I somehow managed to bake all of them in one go – bake them for around 20 minutes or until a skewer comes out clean) you can prepare the buttercream which you will use to fill and crumb coat the cake .
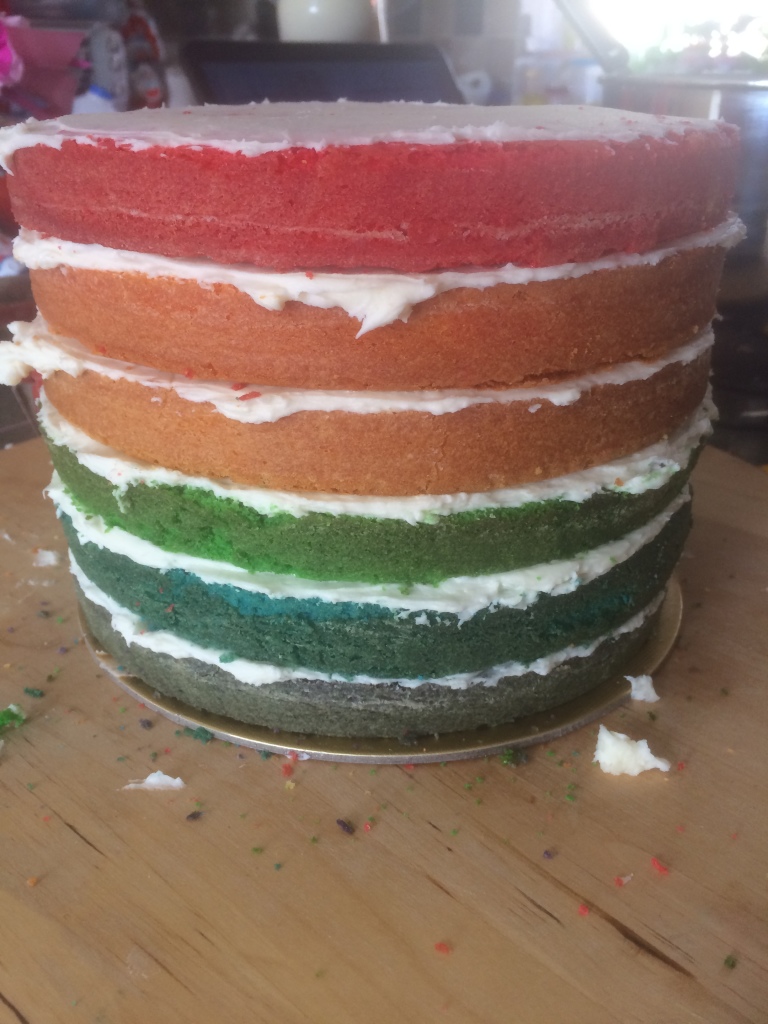
After your cakes have cooled down, you can start stacking the layers and fill them with buttercream. I didn’t trim them like Jemma suggested in her video as I wasn’t too bothered about having darker edges BUT I did level them with a cake leveller.
This recipe has been slightly adapted from Jemma’s recipe. The ingredients you would need are
For the cake –
9 tbsp whole milk
1 ½ tsp vanilla extract
Various colour gels (red, orange, yellow, green, blue & purple)
750g stork
750g caster sugar
9 large free-range eggs
750g sifted self-raising flour
Butter & flour for preparing the cake tins
For the buttercream –
400g soft unsalted butter
800g sifted icing sugar
5 tbs whole milk
½ tsp vanilla extract
For the swiss meringue buttercream which I used to cover the cake, I followed, once more, Sweetapolita recipe
- 10 large, fresh egg whites (300 g)
- 2-1/2 cups (500 g) sugar
- 3 cups (680 g) unsalted butter, cut into cubes and cool, but not cold
- 1 tablespoon + 1 teaspoon (20 ml) pure vanilla extract
- pinch of salt
Once I prepared the swiss meringue butter cream, I divided it equally in 6 bowls and again coloured each batch of buttercrem using a different colour (I told you it was time consuming? :))
Then I started from the bottom of the cake and tried to covered each coloured layer of cake with the same colour of swiss meringue buttercream, then smooth them all together with a flat spatula. There is a video ( I know, another one but I found them so useful!) that shows you how to do it.
TIP: if your cake doesn’t look too smooth you can immerse the spatula in warm water, dry it and then smooth the cake one more time. Most imperfections will disappear
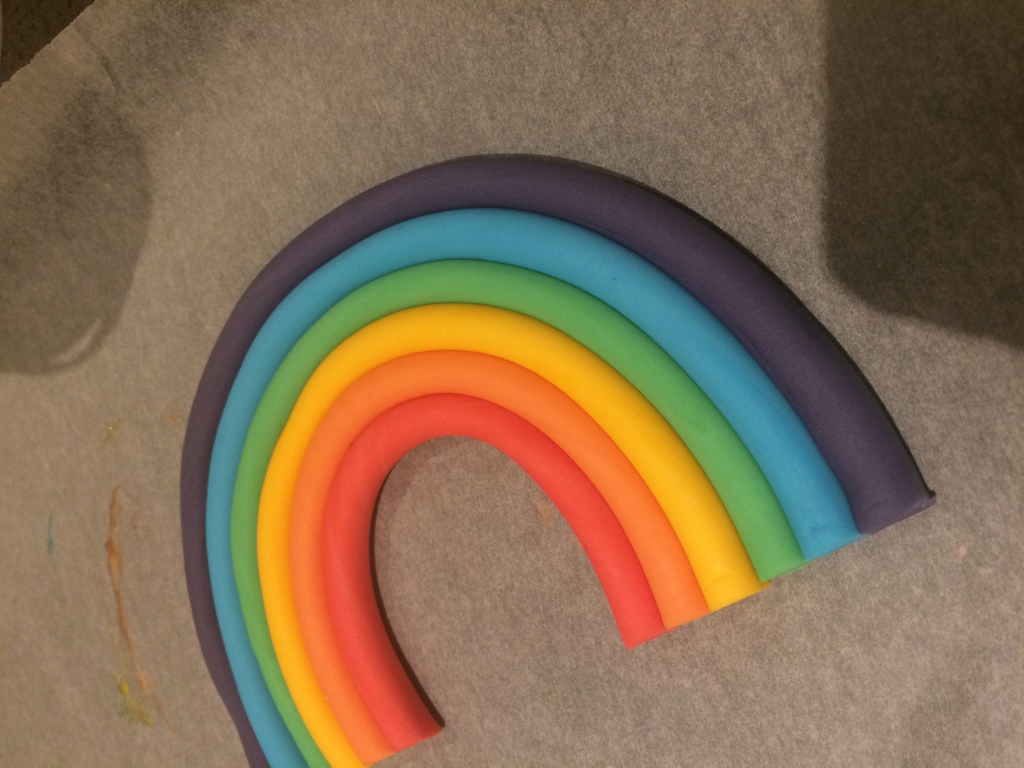
To make the rainbow arch, to go on the top of the cake. I bought different pre-coloured fondant and roll it in long sausages. First I used my hands and then to make it perfect, I used a fondant smoother. And if you need a visual tutorial check this one from Sharon wee creations.
Once the rainbow is ready you should let it dry for I’d say at least for 2 days just to make sure it’s going to be hard once you put it on the cake.
My husband (yes he’s the one who usually creates the fondant figures to put on the top of cakes and cupcakes) had prepared a Rainbow dash mini pony to go on the cake but somehow it fell apart (I think I used a different type of fondant and it just didn’t work :() but if you are interested to give it a go I found a brilliant tutorial. This tutorial is in Italian but it has great pictures where it shows you all the steps to make a pretty My little pony Rainbow dash.
Once the cake was ready, I followed some photography tips from Marte Marie Forsberg to make the cake look as good as it tasted. I guess having the perfect light was essential to take these pretty pictures and we were lucky because the day of the party the sun was shining and it was brightening the whole room.
Hope this helps a bit 🙂 If you are planning to bake a Rainbow cake share it with me on my Facebook page.

