Instant Search

Mamma wears Prada

Why are you asking me this…

husband, pets, pregnancy Comments Off on Why are you asking me this…

Silly questions I’ve been asked during this pregnancy and replies I should have given:

  • Were you smaller the first time? Yes, I was a midget
  • Was the baby planned? No, I’m 35 and still not sure how things actually work
  • Is your husband happy? No, he left me
  • I bet your husband he’s chuffed he’s finally having a boy! No, he actually wanted another girl
  • Is it legal for you to be still working? No, but I love dragging my bump to the office and get uncomfortable at my desk
  • So now you finally get rid of the cats? No, I might get rid of you
  • I bet you cannot wait to give birth! Yes I can wait as I actually enjoy being pregnant and wish I could be pregnant for a longer period
  • Your bump is huge! Yours too, and your are not even pregnant
  • Are you sure your are not having twins? Again this question?
  • You are towards the end right? Ehm I’m only 20 weeks pregnant…
  • Is it the same dad as your first one? Well yeah I could not find a different one
  • Can I touch your bump, they say it brings good luck! It can only bring a kick in your teeth in my case
  • I bet it’s a girl! I can tell from the shape of your bump! Ehm I’m actually having a boy
  • Dont worry, second time it’s easier. (Statement from a man or from a woman who never had babies)
  • How will you cope then with two babies? I will just sell one
  • Have you gained lots of weight yet? No, this huge bump is very light

Lucky for all these individuals I’ve been raised to be polite at all times and usually I replied with a smile or making this face:


Very easy Honey and Vanilla Cheesecake

Cuisine, Daily photo, family, Food Comments Off on Very easy Honey and Vanilla Cheesecake

I had never made cheesecake in my life, maybe because I had too many when I moved over to Scotland than I got sick of eating them.

Now after 11 years I decided to give it a go while I was watching a program on the food channel. I then googled  the recipe and found it online but the procedure was different. At the point I was glad I had recorded the program so I could watch it back and follow the correct steps.

This cheesecake doesn’t need any eggs as it is supposed to be lighter than a normal one. And it ‘s very easy to make.

Ingredients:

175 gr biscuits (I used hobnobs biscuits)

For the filling:

400gr of full fat cream cheese

200ml of full fat crème fraiche

400ml of double cream

2 vanilla pods (I didn’t have them so used vanilla extract instead)

75gr of honey

For the topping:

500gr of mixed berries

sugar

To start with I put the biscuits into a food processor and blitzed them until they reached a fine consistency. Then I took the base of a cake tin and turned it upside down so that it would be easier to serve and take off  the cake at the end.

I sprinkled the biscuit into the base and flatted them with my hands.

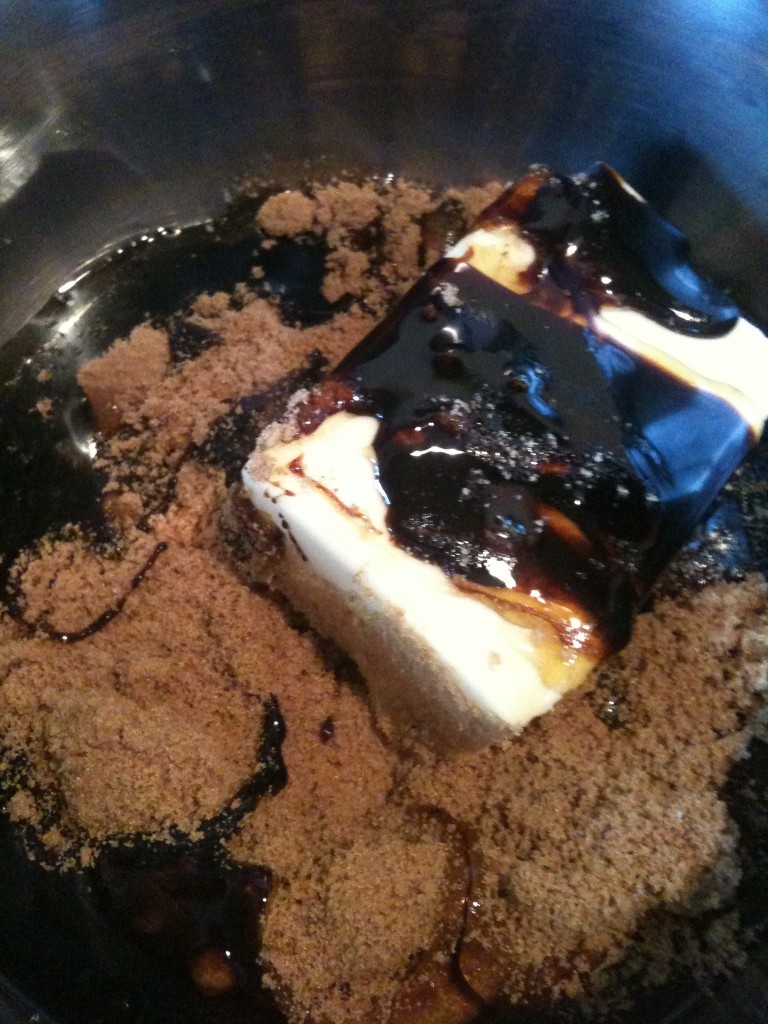
I then combined all the filling ingredients and whisked them until they became quite tick and creamy.

Please make sure you use full fat cheeses as they will give the cake a full flavour.

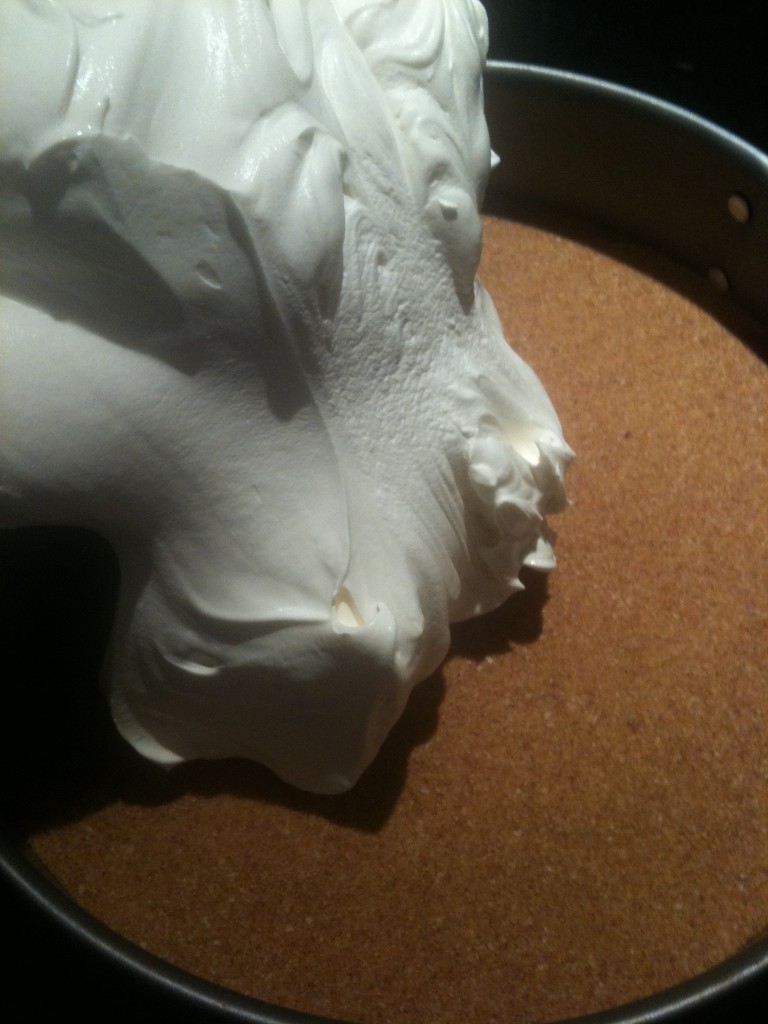
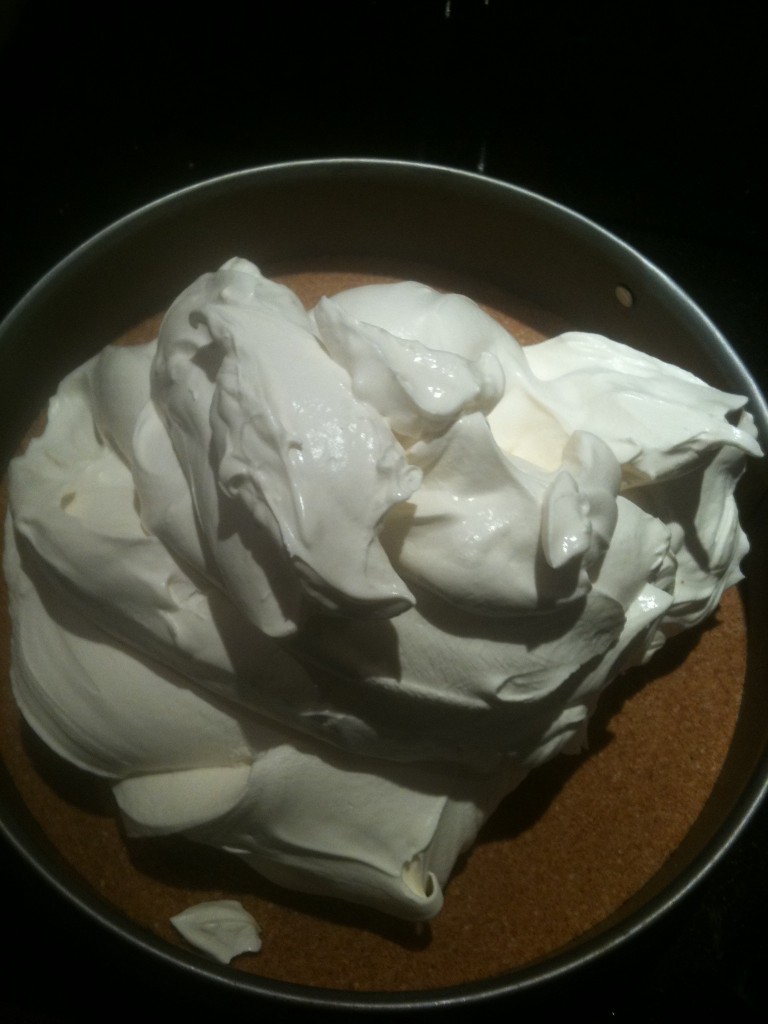
I poured the mix over the biscuit base making sure the base was completely covered before I started shaping the top.

I left the cake in the fridge for a couple of hours (or just leave it until set).

TIP To release the cake from the tin I used a blow torch and gently passed it around the sides. (if you don’t have a blow torch just put some baking paper at the beginning of the preparation ).

To make it more fancy I gently heated some caster sugar in a pan until it became golden and then drizzled some of it on a non stick paper trying to create some sort of decoration.

Me bad but this time I used some frozen mixed berries instead of fresh ones.. sorry!

To finish I placed the mixed berries on the top and put the sugary decoration on the top of the berries. Thanks again to my crap old iphone the cake looked like it was sent from heaven!

I have to say the cake looked incredibly inviting but when we tasted it, it was definitely too light for us ( hey I can still blame the pregnancy right?) so I decided to put more berries in a pan with some water and sugar and cooked it until bubbly.

Then I let it cool and once they were cold I added them on the cake so that the whole cake got a sweeter taste.

This cake is dedicated to a very good friend of mine who gives me an enormous help in making my blog more popular. Unfortunately my blog was hacked so I could not get this post ready for his birthday but here I am. Happy Birthday!

Mini chicken pies. Come on, it’s not the end of the world!

Cuisine, Daily photo, family, Food Comments Off on Mini chicken pies. Come on, it’s not the end of the world!

In case today was really the end of the world I thought I had to try and cook at least once, chicken pie!

I found this recipe on www.tastespotting.com which is a brilliant website if you are looking  for new ideas for your meals. I decided to give it a go and make MINI chicken pies instead as I believe they are easier to eat and to share without making a mess.

The ingredients are:

50 gr butter
2 tablespoons flour
250 ml chicken stock
125ml milk
different vegetables, raw or cooked
400 gr cooked chicken
salt and pepper
ready made puff pastry
1 egg

First I prepared the bechamel by melting the butter in a saucepan over medium-low heat, then I added the flour and stir. I cooked the mixture for 2-3 minutes, until it became thick and then I slowly added the chicken stock and milk to get a ticker cream, this should take around 5 minutes.

Then I added the chicken to the mixture. I chose to precook the chicken in some water with a red onion which gives a lovely flavour to the meat . My version of the recipe was a quick one so I didn’t add any other vegetables but what I would love to try next time is frying some leeks and mushrooms and add them to the mixture.

I decided to use the muffin tin as I wanted to make mini pies but you can make just a big one. I sprayed some olive oil on the tin to avoid the pies sticking to it so that once cooked, it would have been easier to remove them.

Then I rolled out the puff pastry and using a glass, I just cut rounds that I placed in each little hole of the tin. I remembered to leave some pastry to create the tops for the pies.

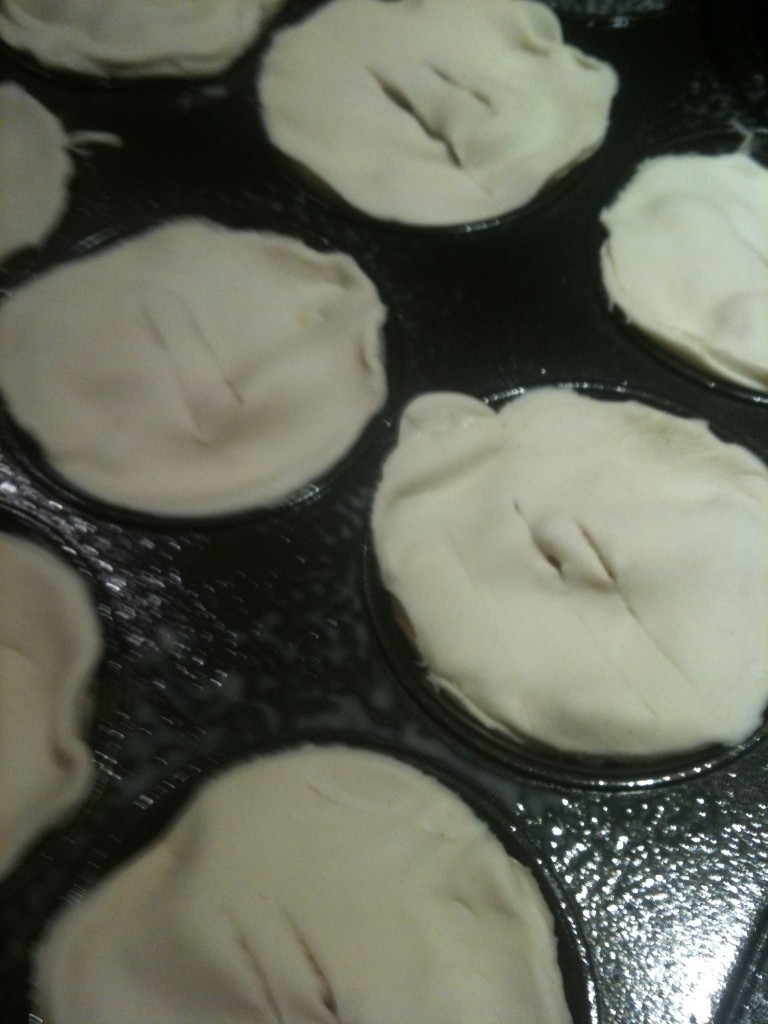
I filled the pies with the mixture and topped them with the little pastry rounds.

I then cut a few slits on the top of the crust so the steam could escape. By looking at the pictures the steam kind of decided to escape from the sides LOL.

To have a lovely golden finished you should whisk an egg and brush it on the top of each pie but obviously this time I forgot!

I baked my mini chicken pies for around 20 minutes at 190 degrees (fan oven). Every oven is different so bake them until you see them turning golden brown.

Hubby and Bubu enjoyed them, to be honest they were starving but PROMISE my mini chicken pies were really good 😉


Into the Christmas spirit week 2: how to make a Gingerbread house

Beatrice likes, Christmas, Cuisine, Daily photo, family, Food Comments Off on Into the Christmas spirit week 2: how to make a Gingerbread house

I am so excited to show you this as I’ve been thinking of making one for years but then I never had the patience and I could never find the time. Now that I’m pregnant and I have a daughter I found both 🙂

I got the recipe from the Tesco.com website where there is a video which will show you step by step instructions for the preparation of this beautiful Gingerbread house.

Here are MY step by step pictures of a very funny and sweet afternoon with my beautiful helper Beatrice the Elf!

First we had to prepare the dough for the gingerbread house and to do this we had to mix various sticky ingredients and put them on a heat to gently melt them.

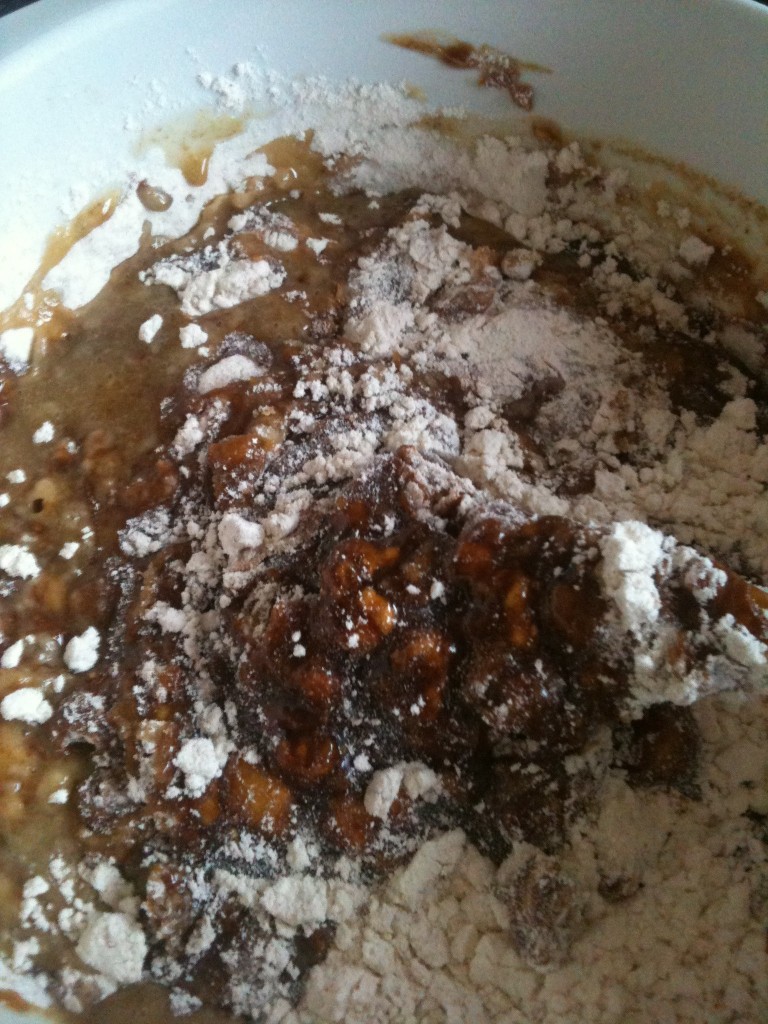
Add the flour mix to the melted ingredients

You should get a sticky shiny dough

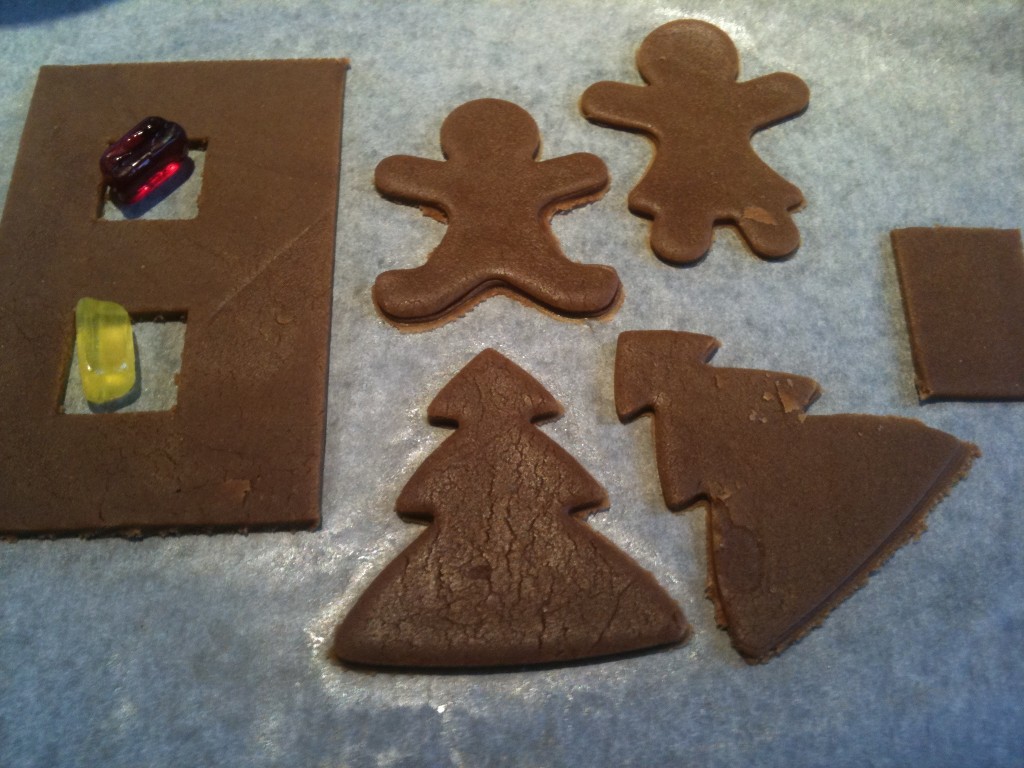
Then roll the dough out and cut different shapes for the house. (You can see how sticky the dough is by looking at my fingerprints on the cardboard shape!)

And make more shapes for the house.

Tree and  few gingerbread men to decorate the garden.

Don’t forget to put some  boiled sweets in the windows. As they will melt in the oven they will create a stained glass effect. Pretty!

After baking the gingerbread house your house will smell divine!

And now it’s time to prepare the royal icing by adding little water to icing sugar.

Both very concentrated…

A very happy Elf!

Here we are, we start building our creation!

Need some more icing on the edges…

Let it snow, let it snow, let it snow!

And now fun time adding all the sweets (or what was left after trying them all!)

Lots and lots of icing sugar to create a truly unique Christmas atmosphere.

Christmas Tree, letter box, gingerbread man.

Check out the cinnamon logs.

Gingerbread house side to show the stained glass windows

Looks like hard work but trust me it’s really rewarding and you will remember it forever “When we built the gingerbread house together…”